Manuskript. Software for writers - 2

We saw how to create a new story, and we viewed a bit of the outline and the editor.
Summary.
If we open the Summary option, we see this:
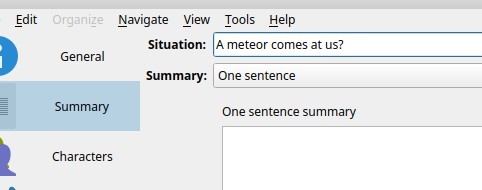
I already entered a Situation, to make it a bit more 'alive'.
At this point, we can write a one sentence summary of the story. The basic ingredient. We're not restricted to one line, but try to keep it short. Let's try this:

From here we can use the drop-down to go to a paragrhaph summary.
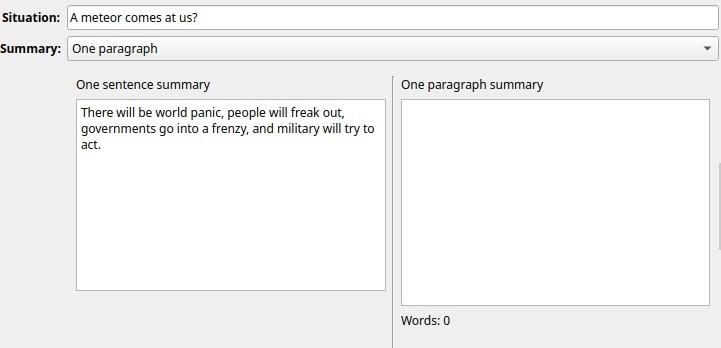
In this part, we can go into the first sentence and pick that apart. Add more detail, if you're a planner. If you're more a pantser, like I am, you can always come back here to work out more things as the story progresses. Or skip this step entirely. That's usually what happens to my stories.
From the paragraph summary you can extend to a full page summary and then even on to a full summary. Use what you like and need, and skip what you don't need. It's there for you when you need it.
Characters.
Important creatures, most of the time, are our characters. When selecting the Characters option, we're presented this:
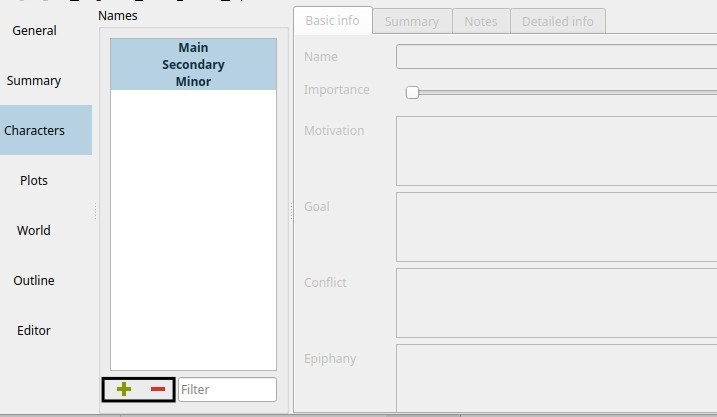
At the bottom we can add and remove characters, using the + and - buttons.
Let's create Jonathan. Click the PLUS and type a name:

Using the 'Importance' slider, we decide how important Jonathan is. All the way to the right makes him a main chacter. With the button behind the name, you can select the colour indicator for Jonathan, and there's a "POV" checkbox. This comes in when we write a scene. A scene can be set to the POV of a specific character, and here we define if a character can be selected for POV.
An example of this is shown here. This won't force you into anything, but it's a nice reminder to keep the perspective:

As you see, I also changed the colour for Jonathan's character.
At the top of a character definition, you see the various tabs. Select each of them and fill out what you need to remember, like motivation, goal, conflict, epiphany, short summary, etc. The 'Detailed Info' tab is set up like this:
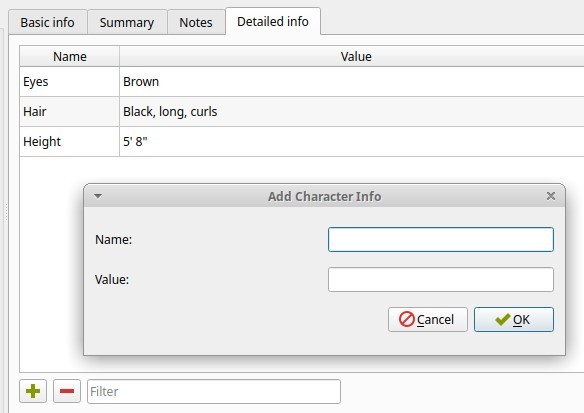
Via the + at the bottom we add a character 'trait', and that way we can build up the way Jonathan looks. Easy for remembering is someone's left- or right-handed, for instance, and other things in many places.
I'll keep it at this for now. Next time I'll go into the plots and the world options.
Thank you for reading this far.
